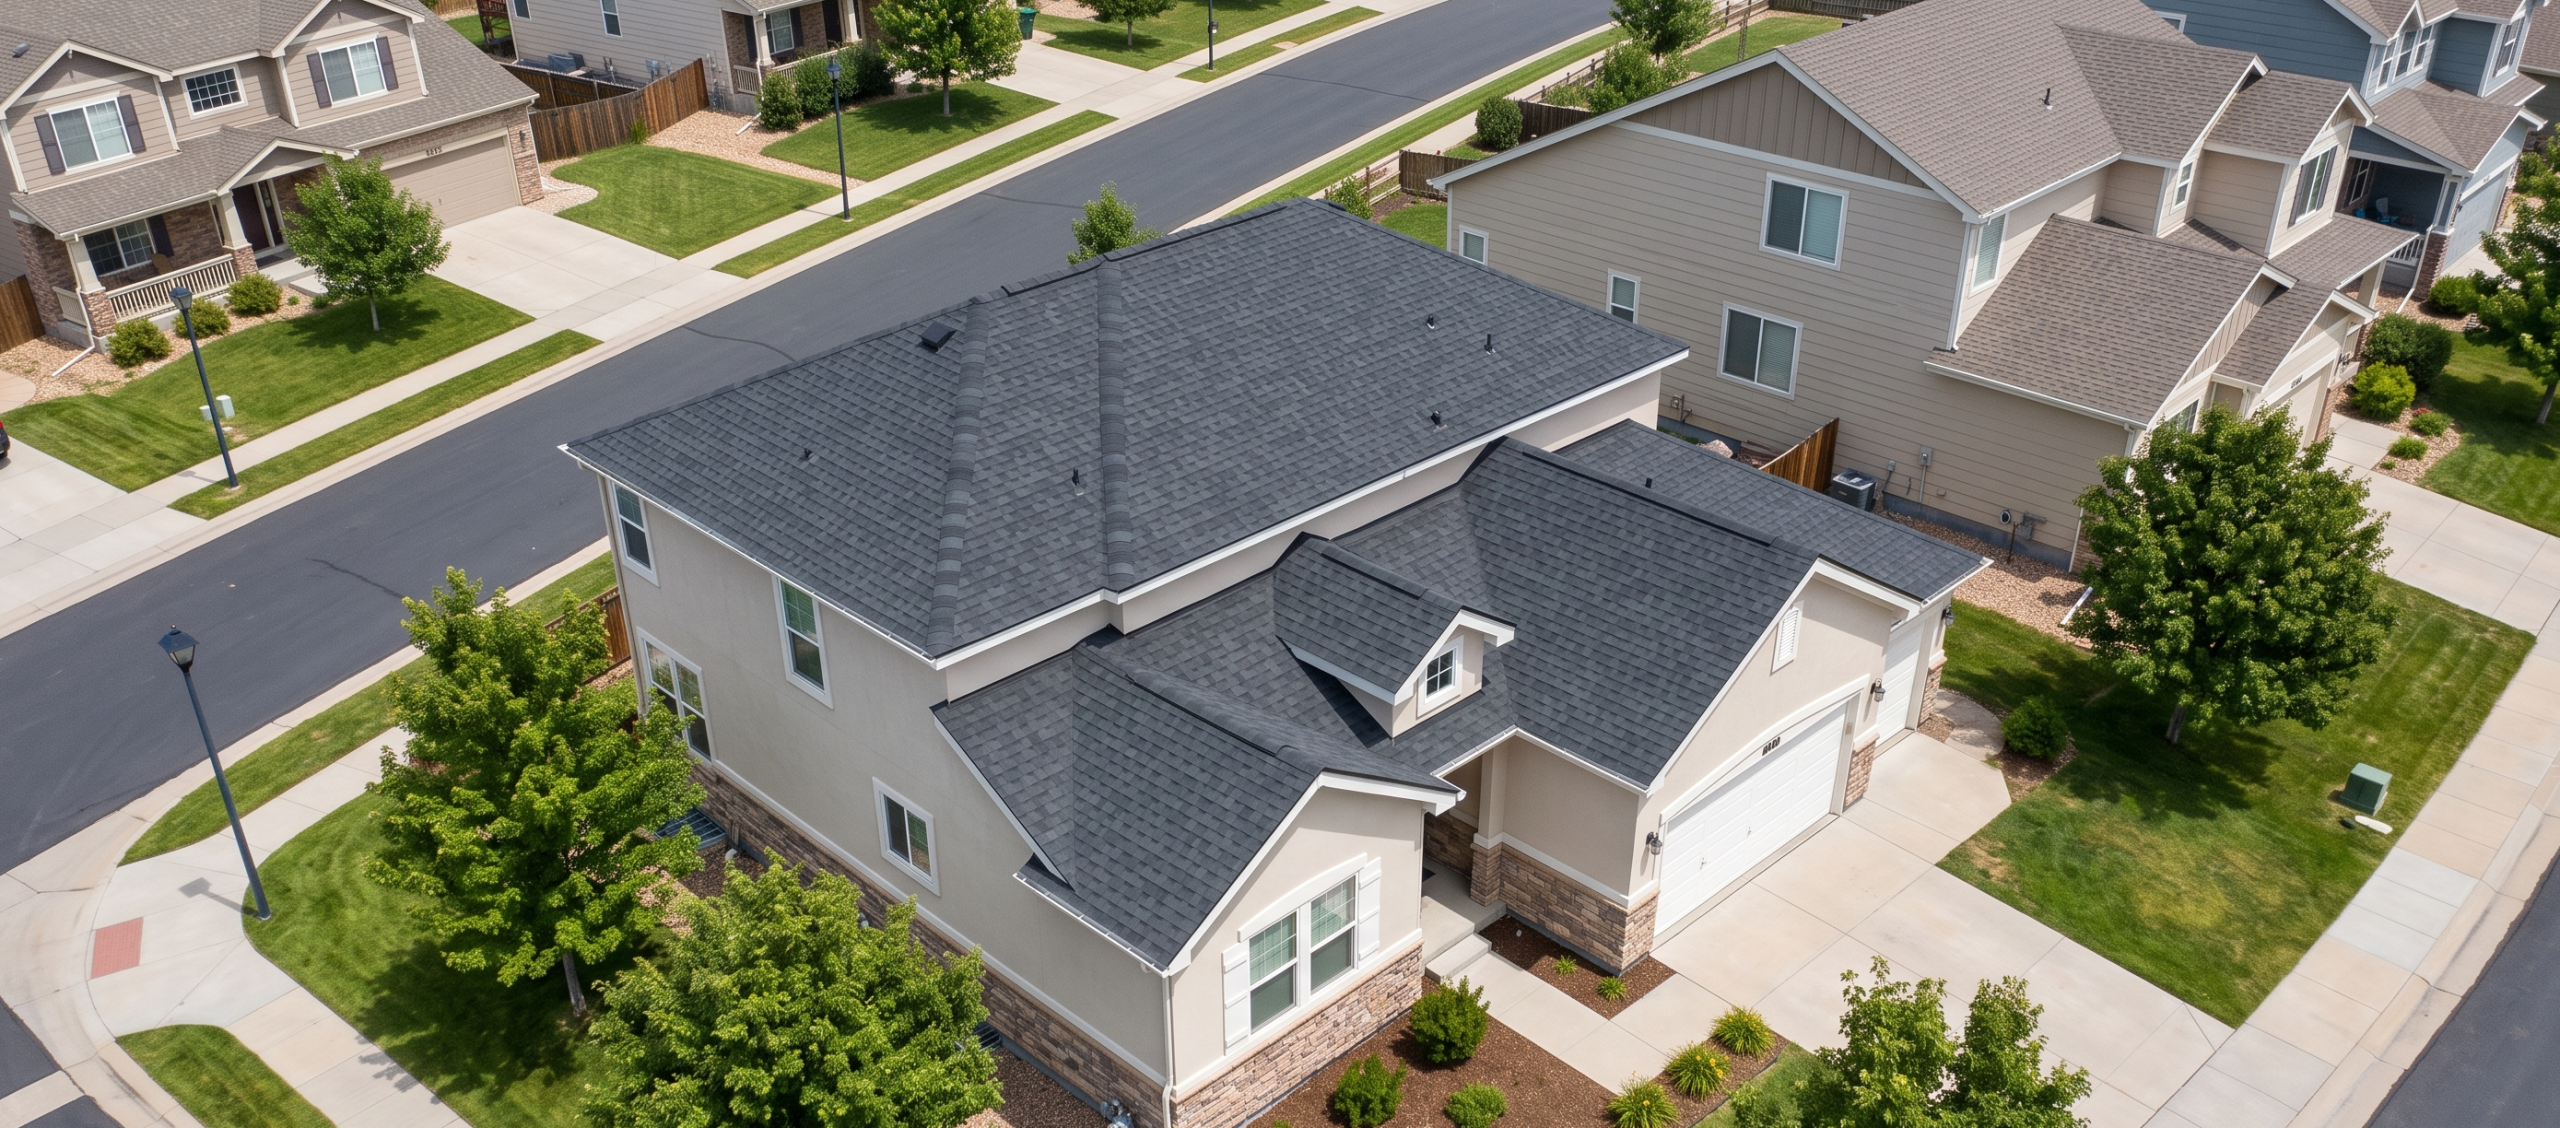
A step-by-step walkthrough of how the day unfolds, how to prepare, and when the noise finally stops
It’s a Busy Day but It Follows a Predictable Pattern
Roof installation day is one of the loudest, busiest days your home will experience, but it’s also one of the most organized. A professional roofing crew follows the same sequence on virtually every job, and the whole process typically wraps up in one to three days depending on the size and complexity of the roof. Knowing what that sequence looks like and how to prepare for it turns a potentially stressful day into something you can plan around with confidence.
Before the Crew Arrives
Most roofing crews arrive early, often between six thirty and seven thirty in the morning, to take advantage of daylight and cooler morning temperatures. Before they show up, there are a few things you can do to help the day go smoothly:
- Move vehicles out of the driveway and away from the house to give the crew clear access for their trucks, trailer, and dumpster
- Take down or relocate anything fragile on your exterior walls, including hanging plants, decorations, light fixtures, and security cameras that could be jarred loose by the vibration of the work overhead
- Move patio furniture, grills, potted plants, and any other items away from the perimeter of the house where debris will be falling throughout the day
- Cover items in your attic with a drop cloth or plastic sheeting in case dust or small debris shakes loose through the decking during the tear-off
- Let your neighbors know the work is happening so they can move vehicles and prepare for the noise
If you have pets, plan to keep them inside and away from doors that face the work area. The noise from a tear-off is significant, and loose pets near a busy work zone create safety concerns for both the animals and the crew.
Material Delivery and Setup
In many cases, the roofing materials are delivered a day or two before the installation. Bundles of shingles are staged on the roof or stacked in the driveway, and the dumpster is dropped off and positioned near the house for debris collection. If materials arrive the morning of the install, expect the first thirty to sixty minutes to be spent on staging before the actual work begins.
The crew will also set up ladders, safety equipment, tarps along the perimeter of the house to catch falling debris, and a magnetic roller they’ll use later to sweep the yard for stray nails. A well-organized setup at the start of the day keeps the project moving efficiently and minimizes the mess on your property.
The Tear-Off
The first major phase of the day is the tear-off, and it’s the loudest part of the process. The crew works their way across the roof, stripping off the old shingles, underlayment, and damaged flashing down to the bare decking. The debris gets shoveled off the roof directly into the dumpster or onto tarps on the ground below.
This is also when the crew inspects the roof deck for hidden damage. According to the National Roofing Contractors Association, roofing performance depends on material quality, installation workmanship, climate, and maintenance. A solid deck is the foundation for all of it. If the crew finds soft spots, rot, or water damage in the plywood or oriented strand board, those sections are cut out and replaced before any new materials go down.
On a standard single-story home, the tear-off usually takes two to four hours depending on the roof size and whether there are one or two layers of old shingles to remove.
Deck Repair and Preparation
Once the old materials are off and the deck is exposed, the crew repairs any damaged sections and prepares the surface for the new roofing system. This includes replacing any compromised decking, installing ice and water shield in valleys and along eaves where code requires it, and laying down synthetic underlayment across the entire deck surface.
New drip edge is installed along the eaves and rakes to direct water away from the fascia and into the gutters. Flashing around chimneys, plumbing vents, exhaust caps, and skylights is either replaced or resealed depending on its condition. This preparation phase is critical because the underlayment and flashing are your home’s secondary line of defense if water ever gets past the shingles.
Shingle Installation
With the deck prepped and protected, the crew begins laying the new shingles from the bottom of the roof upward. Starter shingles go along the eaves first to provide a sealed base layer. Then the field shingles are installed in overlapping rows, working from the eave to the ridge. Each shingle is nailed according to the manufacturer’s specifications, which typically call for four to six nails per shingle depending on the wind rating.
Hip and ridge cap shingles are installed last along every ridge line and hip to seal the top edges where two roof planes meet. Pipe boots and vent flashings are sealed, and any final trim work around penetrations is completed. The shingle installation phase is the longest part of the day but also the quietest compared to the tear-off.
Ventilation
Proper ventilation is typically addressed during the installation as part of the overall system. ENERGY STAR’s guide to attic ventilation explains that proper airflow through the attic is essential for protecting roof shingles, removing moisture, and maintaining comfortable indoor temperatures. Most new roof installations include ridge vents along the peak and soffit vents at the eaves to create balanced airflow through the attic space.
If your previous roof had inadequate ventilation, your contractor may recommend adding or upgrading vents as part of the project. This is the most cost-effective time to make ventilation improvements because the roof is already open and the crew is already on site.
Cleanup
A professional crew cleans up at the end of every workday, not just at the end of the project. Cleanup includes removing all debris from the roof and the ground, running a magnetic nail roller across the entire yard, driveway, and surrounding areas to pick up stray fasteners, and hauling away the dumpster once it’s full.
The Federal Trade Commission advises homeowners to make sure their contract includes a clear description of the work to be done, the materials used, and the completion timeline. Cleanup and debris removal should be explicitly included. If your contract doesn’t mention it, ask before signing. You don’t want to find out after the fact that a pile of old shingles in your driveway is your responsibility.
After cleanup, do a walkthrough with the crew leader or project manager. Check the ground for any missed nails or debris, look at the gutters to make sure they’re clean and reattached, and confirm that all flashing and trim work looks finished. Any concerns are easiest to address while the crew is still on site.
The Final Inspection
If your project required a building permit, the final step is a municipal inspection to verify the installation meets local building code. Your contractor should schedule this inspection and be available to meet the inspector on site. The inspector will check the shingle application, flashing details, ventilation, and any code-specific requirements like ice and water shield placement.
Once the inspection passes, your project is officially complete. You’ll receive your warranty documentation from both the manufacturer and the contractor, and your new roof is fully in service.
A Few Things to Keep in Mind
Your home will vibrate during the tear-off. Loose items on walls and shelves inside the house may shift, so take down anything fragile before work begins. The noise level is comparable to a construction site for most of the day, so if you work from home, plan to be somewhere else or use noise-canceling headphones. Dust may enter the attic and occasionally sift through ceiling fixtures, especially in older homes. And expect your yard to look rough until cleanup is complete, even though the finished roof above it will look great.
Most importantly, you don’t need to be home during the installation. As long as the crew has access to the property and can reach you by phone if a question comes up, the work proceeds the same whether you’re there or not.
Ready to Get Your Roof Replaced?
Get a free, no-obligation quote from experienced roofing professionals who will walk you through every step of the process.
Get Your Free Quote